So, it has now been a year since I made my Kurse Halloween costume and I have only just now finally finished the mask in time for 2014 Halloween! I didn't get to do much work on Halloween stuff this year so finishing the mask was really my only goal this time. Last year I had left the mask partially painted with non-permanent acrylic paint airbrushed onto it. Also it was missing the foam horns because I didn't realize until the last minute that nothing will glue them to the silicone rubber, except more silicone rubber! So this year I fixed all that and I took some pictures to document the changes.
The first thing I had to decide on was how to attach the horns. I didn't really want to have to spend much money on the mask this year so I was hesitant to buy more Platsil Gel 10 silicone rubber (which i previously purchased from BITY Mold supply) because that stuff is not too cheap and I wasn't planning on using much silicone for now. So instead I did some research and found that some people suggested using basic silicone caulk for painting RTV silicone rubber. Now the pros of silicone caulk are: it is much cheaper (usually $6 per tube), it can easily be bought at any Home Depot, Lowes, etc type store, it is flexible and stretchy (depending on what type you get), and it comes in different colors (in my case I needed clear). The problem is that silicone caulk is lower quality, thicker, and weaker than RTV silicone. However I still believed it could work sufficiently for the purpose I needed it for which was to use it as "glue" as well as paint. So I bought some silicone caulk (pictured below) to do some tests with it. The trick to using silicone caulk for mask making is thinning it our until it is very liquidy using Naptha or other mineral spirits. That allows it to be spread thinly and mixed with paint. so you can see some test pieces I did of silicone caulk mixed with oil paint. The two to the left are pieces of RTV silicone that I tried painting it on. For the darkest one there, I had tried some red dye in the silicone caulk but it didn't come out with a strong enough color, just very translucent.


After the testing, I determined that silicone caulk would be an acceptable substitute for RTV silicone when used as paint and glue. So next I mixed up some clear caulk with a bit of Naptha and began applying it to the horn sockets on the mask using a plastic knife. It was not easy attaching the horns though because I had to keep supports under them for a good 15 minutes or so before the caulk was solid enough to hold them on its own. I was rather surprised at how successful it turned out using the caulk as glue, and I was very happy when I realized the mask looked much more like the a Kurse (From the movie Thor 2) mask with horns attached. The caulk technically takes 24 hours to fully cure but it is usually cured enough to handle 12 hours later. The next step was to paint the mask.


I forgot to mention that before attaching the horns, I had to wash/scrub/scrape off as much of the old acrylic paint I had temporarily airbrushed on last year. I also poured a bit of Naptha over it afterwards because that is recommended for cleaning dirt and oils off to allow the silicone paint to stick better.
So next, I mixed up some caulk with plenty of Naptha and a bit of red oil paint. You need to be careful when using oil paint with the caulk and make sure that you only mix in a very small amount. Oil paint has very strong pigment so a little bit will go a long way. The color I needed was a dark red so I also put a bit of black in too. Also keep in mind that silicone caulk has a short working time so I needed to do this rather quickly. When I had a good color ready, I began applying the silicone caulk/paint to the mask using a plastic knife. I didn't want to use a paint brush because the brush strokes show up too much in the caulk. After that I mixed up a few more colors, I also added some acrylic paint to the horns since they are only covered in latex instead of silicone. when I was finished the mask looked like this...

 |
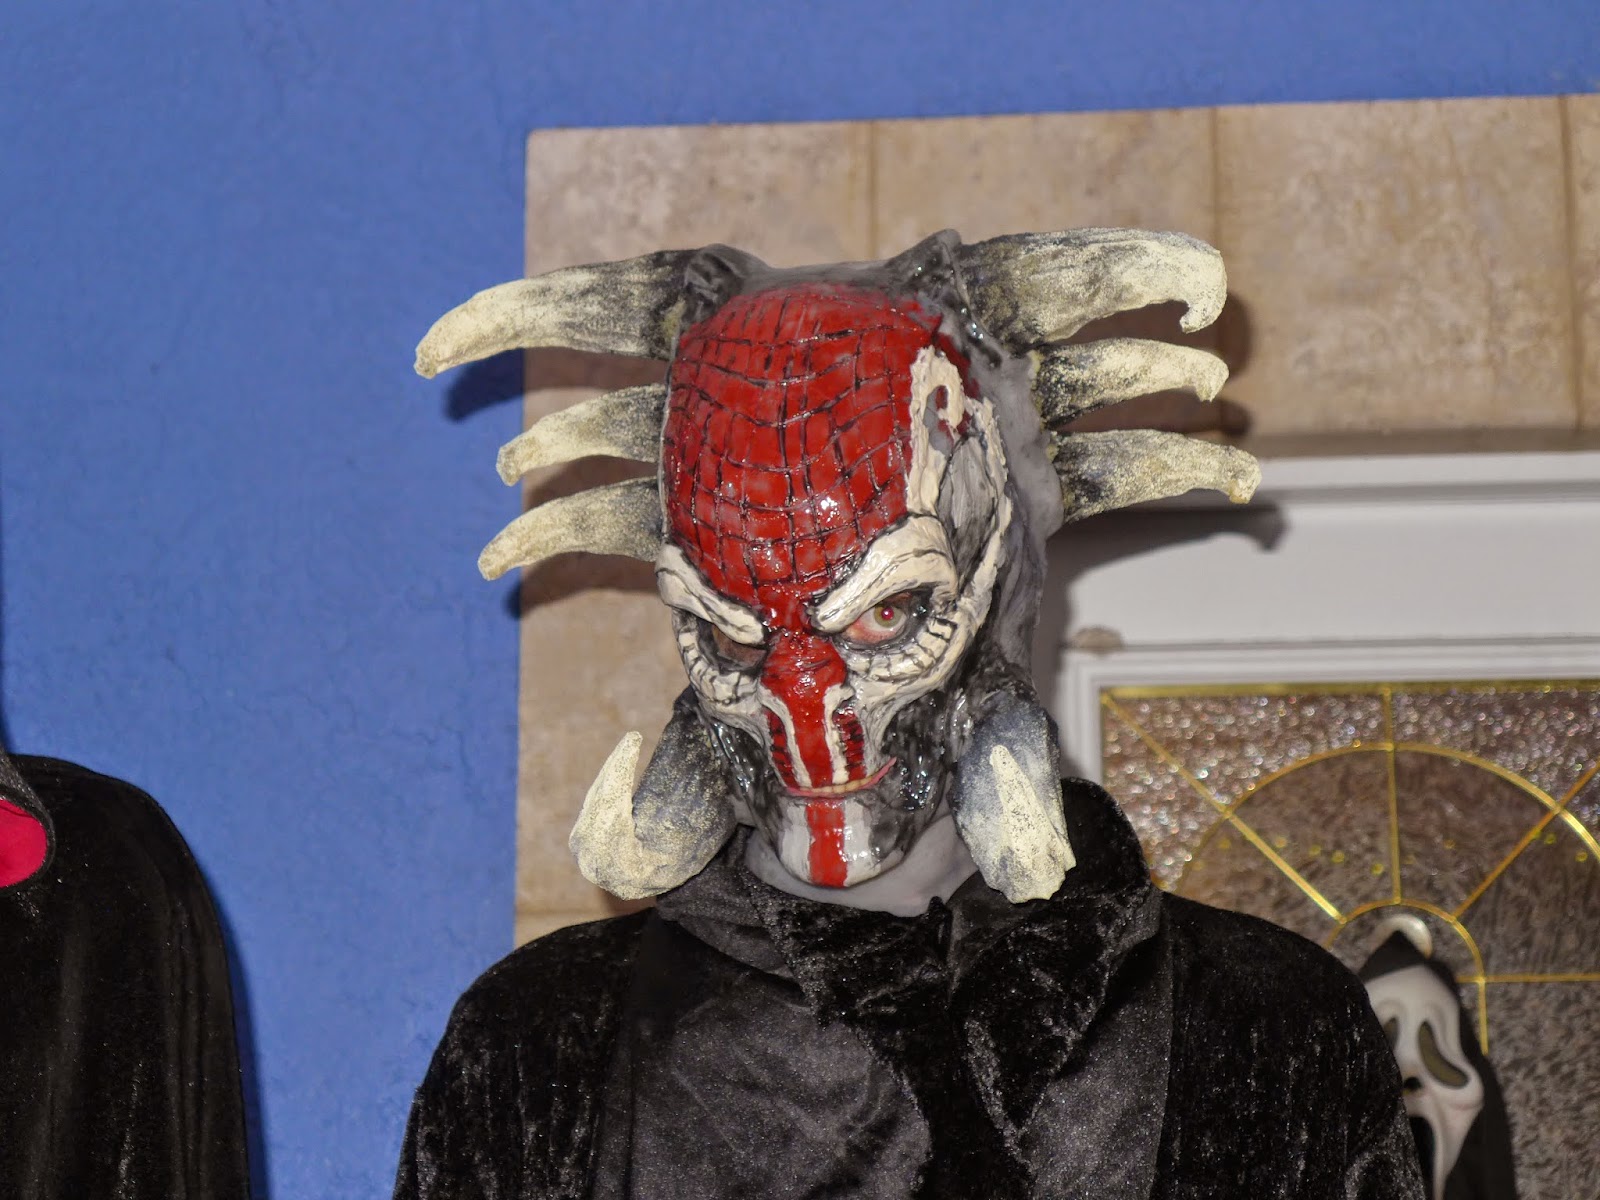
| I did not put any paint on the back |

I have to say I was pretty happy with it because it actually did look unmistakably like Kurse now!
While overall it does look good, I know its not as good quality as I could have made it if I had more time and enough money to get all the best materials. The paint job is a bit sloppy and not that neat, but I think it works for a homemade Halloween mask.
The rest of the pictures posted were taken on halloween. I decided not to bother using the rest of the costume I made last year because it wasn't in good condition, so instead I just wore all black clothes with a black cloak. Some of the trick or treaters couldn't tell if I was real and wouldn't come up to get any candy, so I guess it was a successful scary mask!


then I have some pictures of my other Halloween decorations


